Now this clear out did not include all the clothes I own. It didn't even include all the clothes I had in my closet. It only included the clothes hanging up in my closet. I counted approximately 160 items. By eliminating everything I hadn't worn in a year, I removed 53 garments. O.K., I confess, I didn't get rid of them all; I actually returned 28 garments back to the closet because I wasn't ready to part with them. But I did manage to give 25 away (11 of which were made by me). By my math skills (which are admittedly poor), I figure I gave away 22% of my hanging stuff.
Out of pure curiosity, I counted how many skirts I own. Forty-six. Wow. Of those 46, 17 were store bought and 29 were made by me. Wow again. That's a whole lot of skirts. I'm not certain anyone needs 46 skirts.
What did I learn from this exercise? I have plenty of clothes. I don't really need more. But my problem is that clothes making is my hobby, so what am I to do? Giving them away is the answer, of course, but in addition to emotional clothes hoarding, I hate to give away something I've made because of what it really is: a muslin. Let's say I make a dress. Let's say I love it. Let's say that after 4 or 5 years, I'm not wearing it anymore, but I want to make another one with new fabulous fabric. I'm going to want to try on that old dress to see how it fits - do I need more room in the waist? (Rarely does anyone need less.) What size seam allowances did I use? How did I finish the armholes? Etc.
So I've decided to approach my garment making in the future as more of an experimental exercise rather than a I've-got-to-sew-this-because-I-need-something-to-wear. I keep thinking I'm clothes poor, when I'm really not.
One of those experiments that I read a lot about but haven't actually tried is re-fashioning a garment from one thing into something else. I'm not normally one for re-fashioning a garment, although I admire those who do; I prefer to start with a completely clean slate on a project because re-fashioning is dangerously close to altering or even mending. (Shudder)
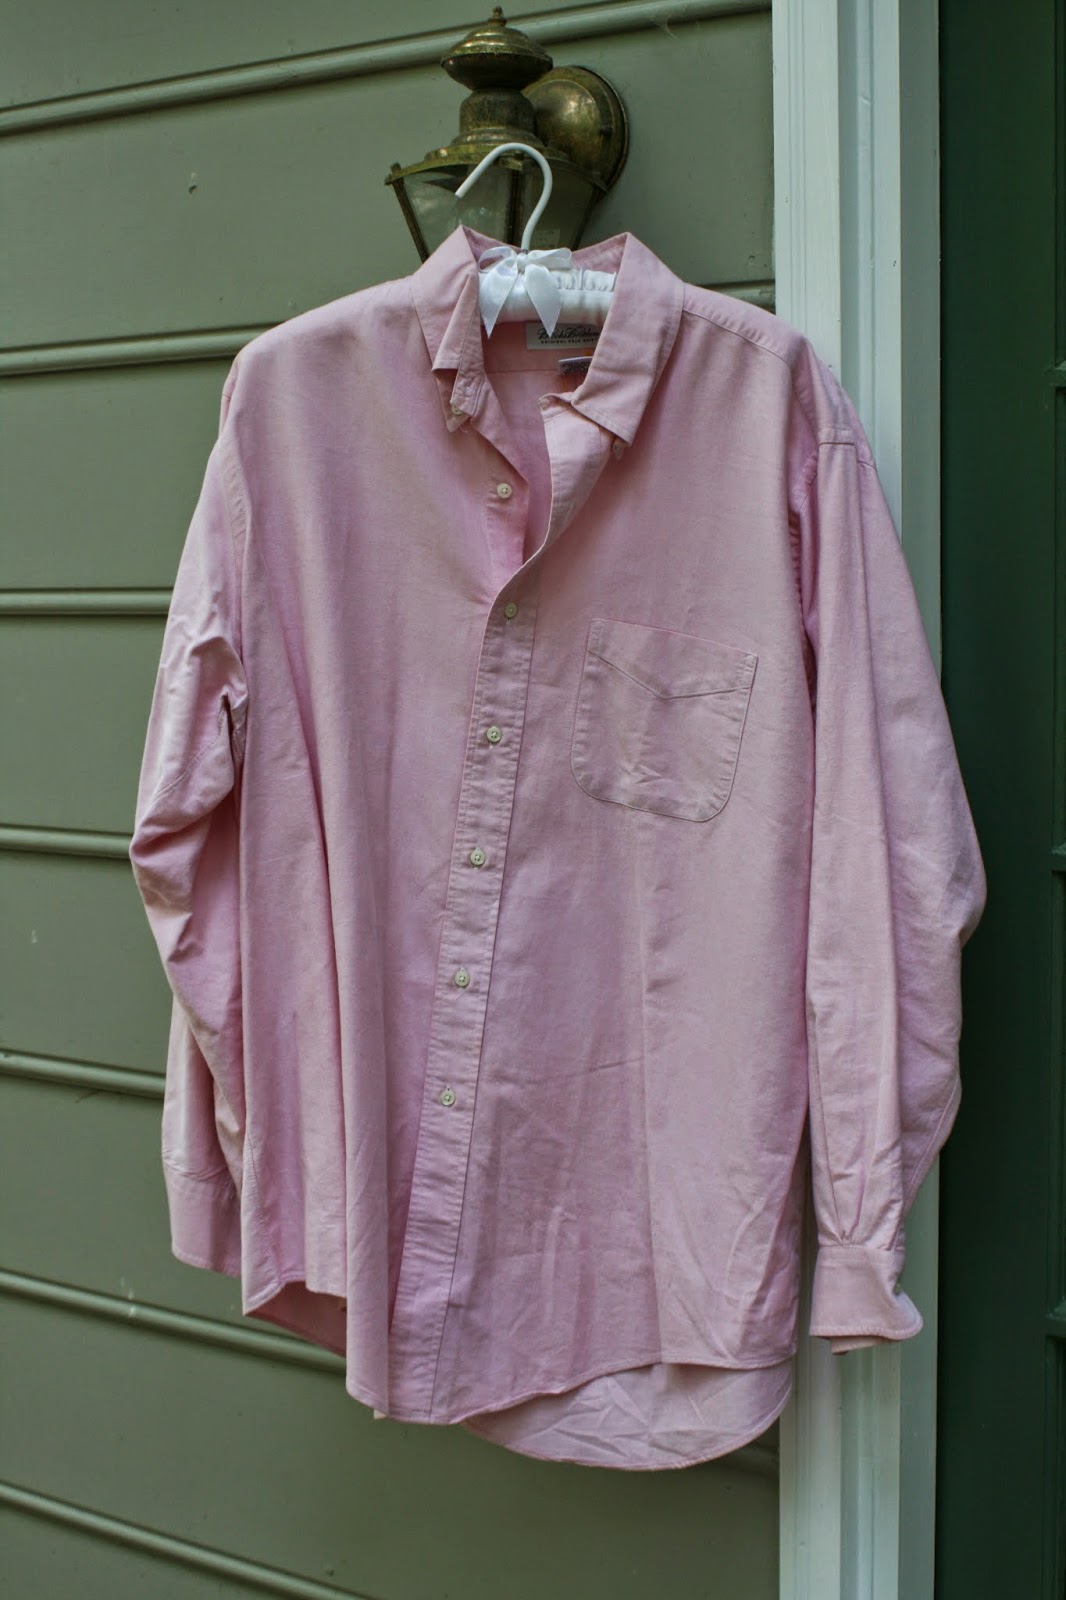
I got inspired though, because we have a nice thrift store nearby, and I wanted to see if I could take a man's shirt and make something of it. Here it is: a high-end Brooks Brothers oxford shirt that I got for $ 3.00:
I doubted my ability to simply take the shirt and play around with it - I need a pattern. So I dug through the pattern stash and found Kwik Sew 2976:
I felt like I could make this work - the pattern doesn't take much fabric, so I wouldn't need any more than the button down I had purchased. It also had the button front and I wanted to see if I could use the button placket and buttons on the existing shirt for my new shirt. I could and I did.
So I went from this:
To this:
Here I am in it:
I used french double bias binding cut from the shirt fabric to bind the neckline, but I used washed shantung white silk bias binding I had in my stash for the armholes; I found the oxford cloth to be rather thick for binding:
I also wasn't prepared for the left/over right buttoning when I tried it on for the first time - I had forgotten that men button their shirts left/over right rather than right/over left like women do. Only then did it occur to me that I could achieve the right/over left by cutting the shirt pattern pieces upside down to the original shirt. I'll keep that in mind if I ever do something like this again.
All in all, a good experiment. I like the shirt, but don't love it, but that could change with the wearing. This shirt pattern from Kwik Sew isn't particularly close fitting or flattering, and I'm certain there are other patterns out there than can work better. But this pattern was a good place to start because it was "free", i.e. already in the stash.


3 comments:
That is so incredibly cute, great job!
Great way to Upcycle! Looks great and comfortable too, Kim :-)
Looks awesome! I may have to try this pattern.
Post a Comment