
But to back up, after many muslins (I lost count) I wasn't interested in doing more, and it was time to make the Real Thing. I began with genuine American-made 13.5 oz denim manufactured by Cone Mills in North Carolina, which I ordered from Taylor. It arrived in record time, and I washed my yardage twice in hot water and hot dryer. Here's what it looked like afterwards:

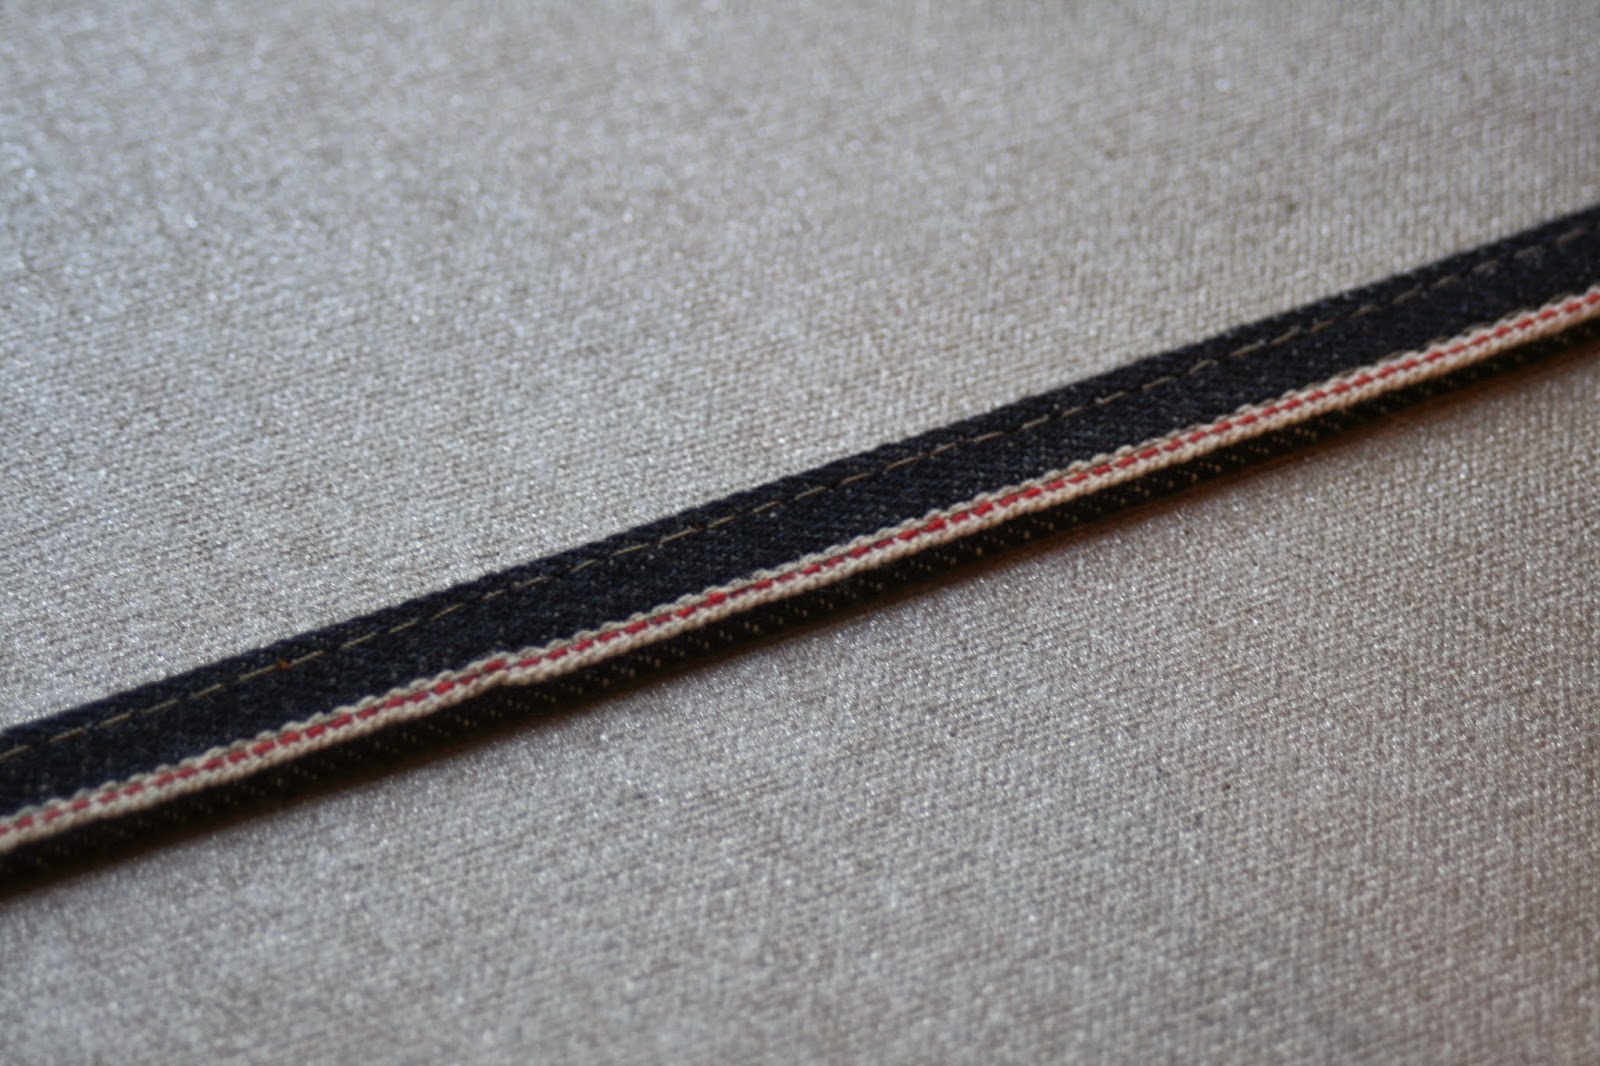
This is selvedge denim which has this distinctive red thread running through the selvedge:

As you know from my last muslin, I hadn't quite perfected my fit, so I ordered the Palmer/Pletsch DVD, "Jeans for Real People":

I'm not certain this DVD would have been of much value to me when I first starting making jeans because it emphasizes fit, rather than the detailed how-to of sewing jeans. For example, I don't think it would have helped me to figure out a fly zip, since the demonstration was for a cut-on fly extension, rather than a sewn-on fly extension. And some of the techniques in the DVD look like shortcuts, rather than classic jean construction. For example, the DVD claims nylon zippers are stronger than metal zippers and it demonstrates jeans being made with a regular nylon zipper. Are nylon zippers really stronger? Do we make jeans with metal zippers because that is all that was available when jeans were first made and continue with them because of tradition?
I don't think so. I recently purchased "The Costumer's Handbook":

and it advises on page 122, "Always use metal zippers in costumes. Nylon zippers are simply not strong enough nor reliable enough for stage use." (This is a fantastic book, by the way, full of useful information, including how to make slopers for men and women. Its out of print, but if you can find it, buy it or steal it.)
What I did get out of the DVD:
1. Basting tape. I didn't know this stuff existed. I use Steam-A-Seam for basting where I can, but the temporary basting tape looks like a great time saver. I need to get some.
2. A technique for making sure your back pockets are placed on the back pieces in identical placement.
3. I learned an alternative way to make a buttonhole.
4. Fitting. They fit three women in this DVD, and I probably learned more than I realize. The drawback to using the methods shown is that you really can't do it alone. You not only need another person, but you need someone who knows the Palmer/Pletsch technique.
One common pattern adjustment is to carve out more of the back seam, making it deeper - this is very common on women over 30, and my understanding is that Palmer/Pletsch pants patterns have different cutting lines for the back seat depending on whether you are under 30 or over 30. Which I think is both helpful and hysterical.
I decided I probably needed this adjustment, based on the Calvin Klein pattern which felt so comfortable. Rather than go with the Calvin Klein pattern, though, I decided to use McCalls 6610 (which I used for my last muslin):

Like last time, I made a size 14; the difference this time was I didn't shorten the rise, and I redrew the seat curve to match the Calvin Klein pattern. Here it is:

The McCalls pattern is the tan piece; the Calvin Klein pattern is the white tissue paper. You can see the re-drawn seat curve in black ink on the McCalls pattern piece.
Also, based on the Calvin Klein pattern, I added 1/4 inch to the side seam in the hip area of the front pattern piece only.
In addition to the DVD discussed above, I took Victoria's pants fitting webinar put on by Burda, and in it, she suggests that you use a flexible ruler and bend it around yourself to discover your seat curve. Not to get all personal and all, but this is my seat curve:

The left side is my front, and the right is my back side. I compared my shape to the back seat curve on my pattern:

Pretty good, I would say!
By this time the actual sewing of the jeans was straightforward. I decided to use an old New Look skirt made of antique flour sack fabric for my pockets:

I must have made this skirt ten or so years ago before I started blogging, and I've since "grown" out of it. Flour sack fabric is incredibly strong and durable and I love this print:

Here's the coin pocket in progress:


I used the fly zipper instructions from the Calvin Klein pattern because I have found they are the best. This time I hand basted the fly closed to make double sure the zipper would be covered (unlike the last time):

Just for fun, I made the zipper guard out of the same flour sack fabric rather than denim:

I tried, in vain, to find an alterations/tailor shop that would make my buttonhole for me, due to all the denim layers that I knew would give me trouble. In the end, I used the Palmer/Pletsch method of zigzagging freehand a triangle shaped hole. I went back to my college jeans and discovered that is how Levis made the buttonhole way back then:


For the waistband, I just cut a rectangle of fabric 4 1/4 inches wide on the crosswise grain, which finished 1 1/2 inches wide after folding in half and taking into account 5/8 inch seam allowances. I didn't use the pattern waistband length; I just used whatever length it took to cover the top of the jeans.
This fabric was only about 31 inches wide, so I had to piece the waistband as it was cut on the crosswise grain, rather than the lengthwise grain. I put the seam at the back, so it would be covered by the back belt loop:


(See why you should cut your jeans waistband on the cross grain here. Kathleen explains all.)
I made the belt loops using the selvedge edge so there wouldn't be any unraveling. I basically cut a strip 1 1/4 inches wide along the selvedge, pressed the strip into thirds, and then top stitched the right side. This is the backside:
This is the top. I tried two finished sizes: 1/2 inch and 3/8 inch. I ended up going with the narrower belt loop:

Getting the belt loops on was a challenge with my Bernina with this thick denim. I ended up using a straight stitch, rather than a zig-zag, and I hand cranked the needle through the denim rather than using the presser foot. I think the belt loops are on pretty well, but we will see.

I got the rivets from Taylor too. I managed the rivets on the coin pocket by myself, but the shanks of the "nail" part of the rivets were too long for the regular pockets. Using the denim spacers as Taylor suggests did not work for me. I got The Carpenter to use his wire cutters to shorten the nail part, and then he pounded in the rivets on the front side (rather than the back, as I was doing). Fortunately, he understands rivet technology.
Even though I had made three or four (or five?) muslins, I still learned stuff while making these jeans. It became clear to me that your front pockets aren't meant to lie flat when you construct them; if they did, you wouldn't have any ease to get your hands inside them. And I finally noticed the little tack on the front stitching of the fly which secures your zipper guard at the bottom of the zipper, so I added that. And don't sew your belt loops on flat to the jeans - leave them loose so you have enough ease to get your belt through them.

The fit isn't perfect, of course. See that slight wrinkle just below the yoke (below)? I'm confident that indicates a slight sway back adjustment wouldn't be amiss:

But I'm not all that worked up about it. I'm very pleased with the fit, and they are incredibly comfortable. I've been wearing them for the past two days. Which is why the front wrinkles aren't indicative of a fitting issue; they just mean I haven't taken them off for days:

Last shot:

I look forward to wearing these for years to come. The legs are wide enough to wear boots, so I know I'll wear them constantly this fall and winter. The waist is loose, but it doesn't show with a belt, and if I wear a top untucked, who is going to see the waistband?
Final thoughts:
1. While these are my first pair of jeans (I'm incredibly pleased), they won't be my last.
2. But it is time to move on and sew something else. Like maybe another winter coat.
3. The Carpenter was so impressed with them, I have a feeling I'll be making him a pair soon.
4. If you make jeans, use this denim. Seriously.
5. The only way to learn how to make jeans is to make 'em. It's that simple. If you want to badly enough, you'll be able to do it, and enjoy the journey. You won't regret it!


.JPG)
.JPG)
.JPG)