My problem was that I was paralyzed by choice. In the past, I sewed where ever I had a flat surface - give me no room and no choice and I can make it happen, but give me a blank canvas and I'm stuck. A dedicated sewing room seriously messed with my head.
So Vicki loaded up all her organizing skills and unleashed them at my house. And at my husband. The Carpenter now has homework, and he knows it. He's going to hang a peg board for me, elevate an old table, and create a shelf on top of two bookcases we bought on Saturday. As soon as he does all that, I'll take photos and post them so you can behold the awesomeness that is my new sewing room.
On Sunday, I entered the sewing room and sewed for 12 hours. I finally stopped about 11:00 pm but only because The Carpenter said, "Time for bed." Basically, I finished the jacket of the Tippi Hedren suit! On Sunday morning it was exactly where you saw it last with only the outer jacket constructed, and by 11:00 pm that night it was complete with only the lining hem to hand sew. I credit Vicki and the new sewing room configuration.
So here it is:


I re-did the pockets and I am much happier with them now:


I am very proud of the cuffs, especially since I had to figure them out myself - my pattern had no cuffs:

I sewed the short 4 inch sides right side together and then turned the cuff right side out. I folded the cuff in half length-wise, and sewed the two raw edges of the cuff to the inside of the sleeve. Then I pressed the cuff to the outside of the sleeve. By doing it this way, the seam joining the cuff to the sleeve is outside the jacket, rather than inside, but it will be covered by the cuff:


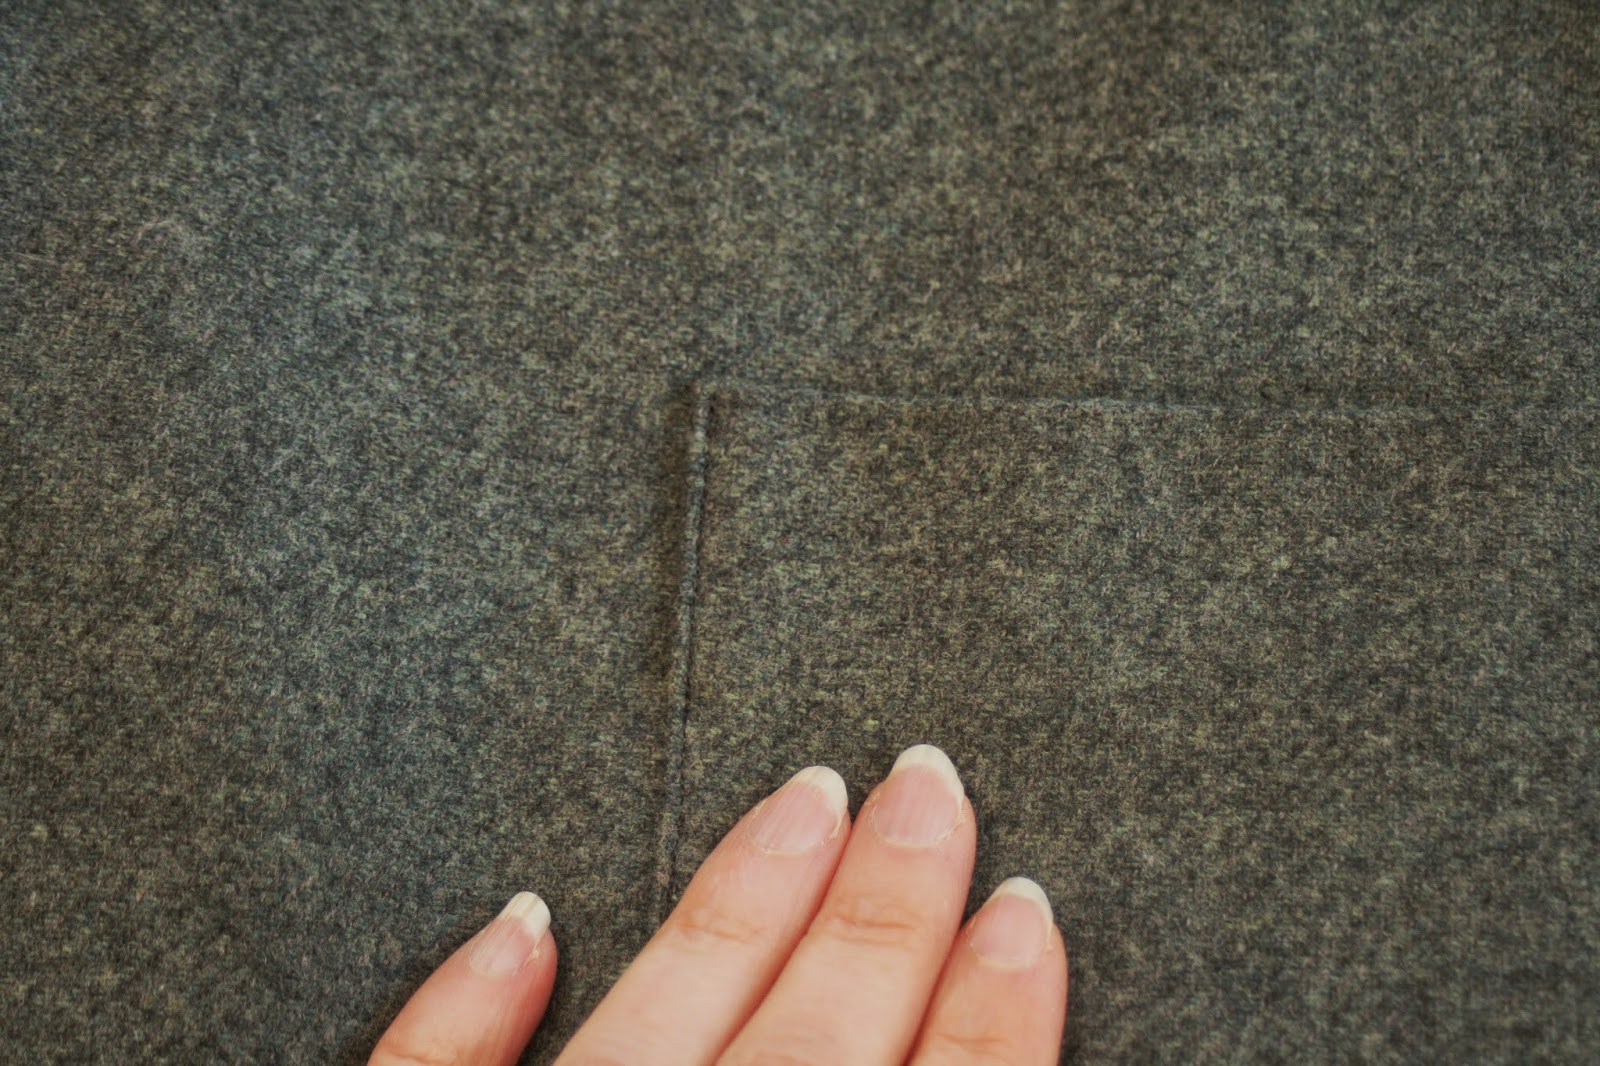
One thing I love about the sleeves on this jacket is the dart at the elbow, something you don't see in a lot of modern patterns:

So the lining. I drafted my own lining pattern. I don't know if I did it "right". I did what made sense to me. Here we go:
For the sleeves, I just used the sleeve pattern pieces with no change. For the back lining, I used the back pattern piece, but instead of cutting the pattern piece on the fold, I positioned the pattern piece a half inch from the fold of the fabric:


The front lining pattern piece was the most challenging. I took the collar/jacket facing pattern piece,


My one "duh" moment came when I prepared to hem the jacket, fully intending to put in a machine hem, when I realized that I would be hemming right through my pockets. Doh! A hand stitched hem was a must. I have to admit that the interlining, again, helped tremendously, and allowed the hem to be truly invisible since I only stitched to the interlining, rather than all the way to the outer wool layer.
I still have to hand sew the lining hem to the jacket hem. Getting the lining lined up correctly is a challenge. Too loose and it sags; too tight and it makes your garment hang funny. And what looks right on the hanger doesn't necessarily look right on you. So it is a lot of pinning and trying on. I think I have it about right now:

Today I started on the dress that will go under the jacket. As I have mentioned, I'm using McCalls 5972, and I cut it out today. It won't be underlined, but I lined the bodice with cotton. Again, this wool is so fantastic, I sort of don't want the sewing to end. I might be able to make a vest from the scraps I have left, and don't think I won't try. : )
I did finish the bodice today; here it is hanging from the back of my chair:

4 comments:
I love the peach charmeuse. It looks beautiful against the wool. Can't wait to see the entire suit.
First off CRAP is good. It stands for Creative Resources And Projects. The jacket looks awesome! I wish people could see how you had that beautiful charmeuse stored before it found a home in this jacket. :-D
Beautiful! One of the perks of home sewing is putting fabulous linings.
Thaank you for writing this
Post a Comment