Saturday, March 15, 2014

New Look 6000 Dress


After finishing the Tippi Hedren suit, I wanted to make another dress to wear with the jacket which I absolutely love.  I wanted to use the rayon/silk blend check on the left below:


I used some of it for the back of my Victorian vest, and wanted to make a simple sheath dress.  I decided to use New Look 6000, which I have made before.  


This time, I made view E (the yellow polka dot version) without the sleeves.  It was an easy make and I made no alterations, just a size 12, straight up.  It was fun because the dress went together quickly which was nice, given all the trouble I had with my Victorian vest. 

The rayon/silk blend was supple, a joy to work with.  I used facings for the armholes which isn't my favorite finishing for armholes, but I felt this drapey fabric needed the added structure.  But upon wearing, I found this stuff wrinkles horribly:


 But I loved the look; the checked fabric was a wonderful match for my wool jacket:


 But well, there is the wrinkling:


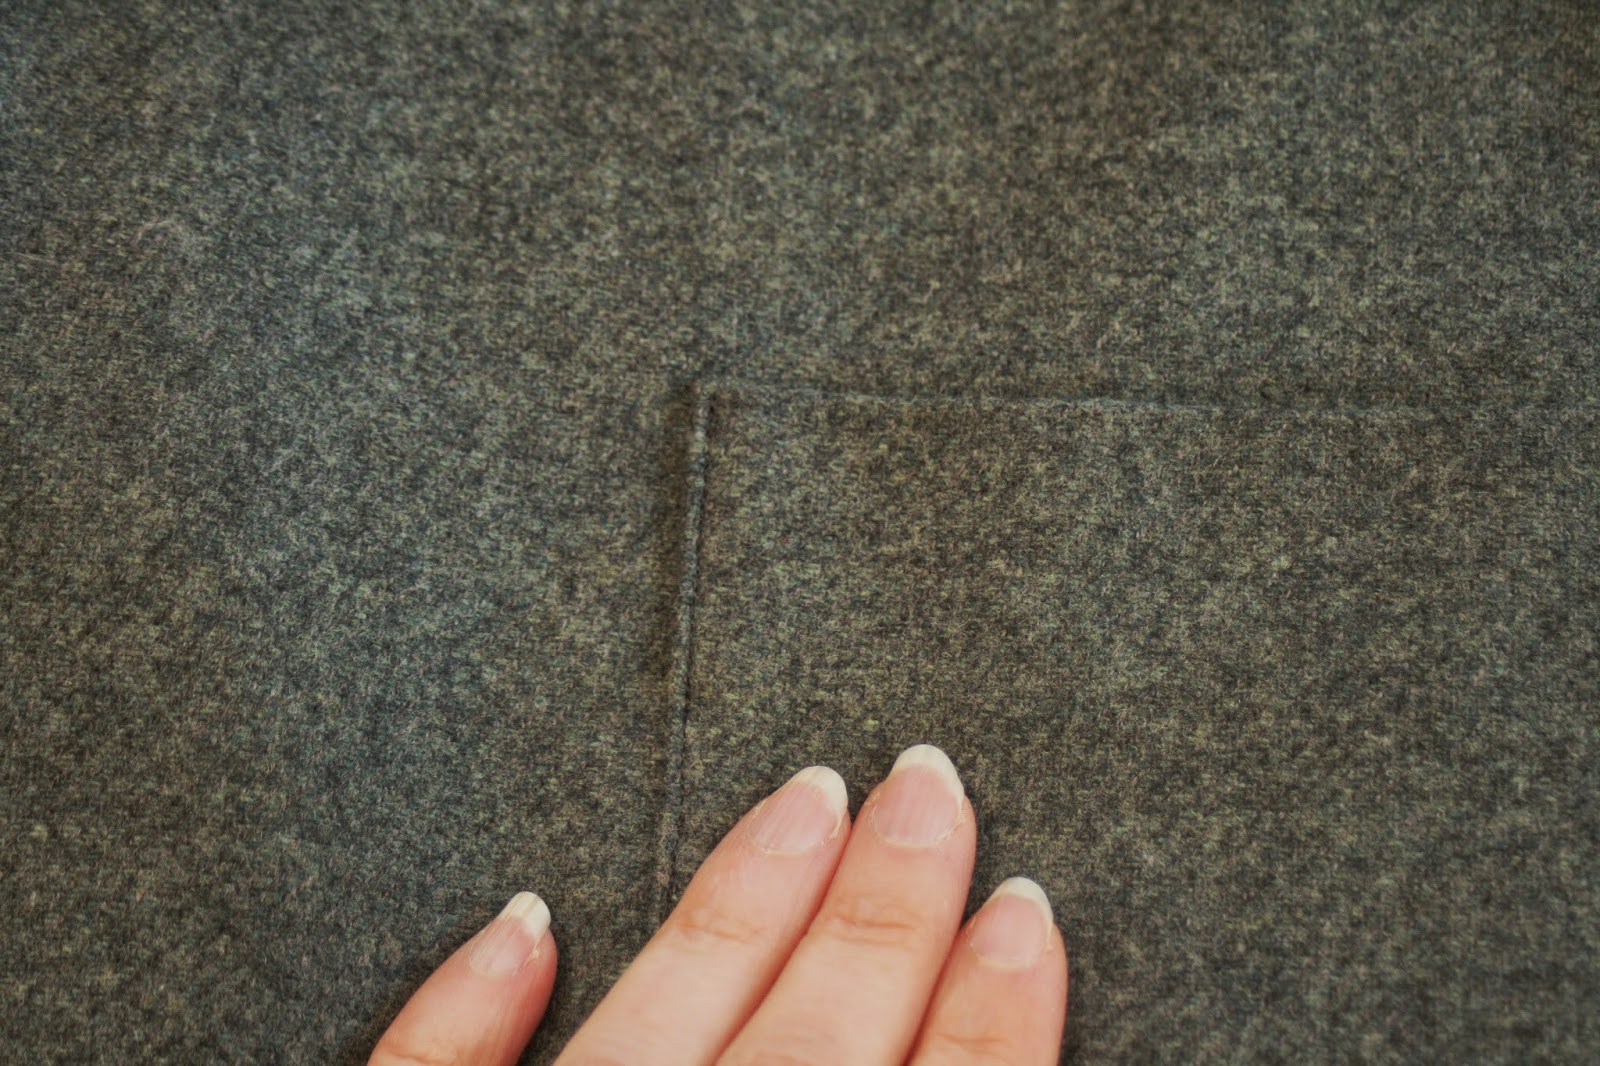
And by the end of the day, I discovered that my back center seam was beginning to shred.


Apparently, my rump is just too much for this fabric; I underestimated it's delicate nature.  I'm not certain I will be able to wear this dress much in the future, especially to work as that seam could go at any time!

So not an epic fail, but not a success either.  I have not given up on this fabric; I still believe I can make a non-fitted skirt to wear with this jacket.  But to recover from this project, I'm working on my first shirtdress of 2014!!!  Yes, it's been a while since a shirtdress was made, and I'm in withdrawal.  Onward and upward!

On more exciting news, I discovered that I got into Gertie's Sewing Retreat for the first week of April!  I'm in a complete dither as to what project I should take that needs Gertie's help.  Possibly the Vogue Couture dress which had fitting problems (plus the dress is already made so essentially, it is muslin), or, and this is a wild thought, maybe I should try a pair of pants. Other than some boxers or pj bottoms, I have never made a pair of pants, and Gertie has a pattern out now with a pair.  How cool would it be to learn how to make pants from the person who drafted the pattern???

Still deciding . . .  Any suggestions welcome!

Monday, March 3, 2014

Folkwear Victorian Vest & Sewing Room Reveal!

It's a snow day here in Richmond, VA, so an opportunity to update what I have been working on the past month or so!  After completing the Tippi Hedren suit, I was left with scraps from my 3 metres of fabric I had bought in Rome.  In an attempt to keep the good time going working with this wool/cashmere blend, I decided to make something from the scraps - no amount of this lovely fabric should go unused.  I scratched my head and came up with the idea of a vest - yes, that's it!  I'll make a vest.  I had large enough scraps for two front pieces, and then I could use a coordinating fabric for the back of the vest.

I've never made a vest before, but I thought it would be a good idea because my workplace has declared Fridays as jeans days, so 20% of my workwear is now jeans.  Making a vest would allow me to wear this yummy fabric on Fridays and weekends.  Yay!  Not being a western type of person, and probably under the influence of too many Downton Abbey episodes, I was thinking Victorian and Folkwear Patterns had one:


I thought the fitted vest on the far left to be the winner - it is shaped for the female figure and looked wonderful.  I planned to use the wool/cashmere fabric for the two fronts and the rayon/silk fabric on the left that I ordered at FabricMart for the back:


It's a vest, right?  How hard can this be???  Pretty hard, I discovered.  It seemed that everything that could go wrong on this seemingly simple project, did.  I mean, beginner sewers often make a vest as a first project and I had just finished the Tippi Hedren suit, drafting my own lining pattern in the process.  I thought I had this.

I was so wrong.  I cut the fronts in a single layer so that I could fit the pattern pieces on the scraps.  In doing so, I found I had failed to flip my pattern piece, so in essence I had cut two right side pieces, but no left.  This wasn't fatal since the right and wrong sides of this wool/cashmere fabric aren't very different, so I just flipped one piece over and declared it fine.  

It was a portent of things to come.  I kept making rookie mistakes, like pressing darts the wrong way.  I used habotai silk for the lining, which I knew would be evil, and it was.  My attempt to find buttons was a fruitless search, so I ended up trying to cover buttons in the wool/cashmere fabric in two sizes, but neither could handle the thickness of the fabric.

And when it was done, I found the waist to be a little small, even though it seemed to fit when I basted everything together prior to the final sewing.  I don't know what happened - maybe I was confused as to where the center front was located.  

But the biggest problem was my failure to recognize that the vest only came to one's waist.  Victorian women wore Victorian vests with Victorian high-waisted skirts.  Which is pretty obvious, right?  But I failed to consider how this would look with jeans, which aren't waist high these days, unless you are wearing the dreaded "mom-jeans" from the 1990s.  My jeans aren't particularly low-rise, but there is a good three inches from where this vest ends and my jeans begin - not a good look.  I searched high and low and found exactly one garment I owned that was high-waisted enough to wear with this vest - a grey Cabi knit maxi skirt.

My enthusiasm to finish this vest that can only be worn with one garment in my wardrobe waned considerably.  Especially after three weekends of work.  So I basically called it a day and gave up on buttons, closing the vest with my cameo pin I got at the Vatican on our Italy trip:


 This solution had the added advantage of leaving the waist free, thus, eliminating the too-tight waist problem.  I used the rayon/silk for my undercollar:


 Here's that nasty habotai silk lining that was a bitch to work with:


 Here's the back, which I did think worked well and looked pretty good.  Ignore the wrinkle, I had been sitting:


 In sum:  the only way this vest is going to get any substantial wear is if I start making Victorian high-waisted skirts, and given my recent steady diet of Downton Abbey, that is a distinct possibility.  At least I now know what adjustments I need to make if I ever make another and that I'll have to make a Victorian skirt go with it.

I do want to make it plain that any problems I had with this pattern is not the fault of Folkwear Patterns - it was all due to user error and the fact that my sewing brain took an enormous holiday during the making thereof.

The other project that has been going on is the transformation of my sewing room!  Until about a month ago, it looked like this:


And now it looks like this:


 Vicki gets all the credit for this; she came over and got me organized!  See the big cabinet in the corner?  That's where my fabric is these days.  And here is The Carpenter's old kitchen table, raise to 35 inches so I have a proper cutting out table in my actual sewing room:


 He sanded down the top for me; I haven't decided whether to leave it unfinished, or prime and paint it.  I'll think on it for a few years.  Here's a book case in the corner holding pressing things and vintage patterns:


 Here are two cubby-hole thingys we got at Home Depot; Vicki came up with the idea of adding a shelf on top of both, providing more horizontal surface area and stablizing the two.  The Carpenter built and painted the top shelf:


Also those blue, yellow, grey, and green baskets are now holding patterns, sewing magazines, buttons, and various notions.  My zippers are on the top shelf, in old flower vases.  And, for the first time ever, I have a full length mirror in the house.  (How did I ever sew without it???):


 Vicki also came up with idea for peg board over the cutting table.  I still haven't quite organized my tools on it:


My pressing area is pretty much the same, but the bookcase provides so much more space to store my pressing items:


I still need to hang my sewing themed artwork, but my picture hanging mojo is low, so I went ahead and took these photos before I completely junk up my beautiful sewing space.  : )  Thank you, Vicki!  And a big shout-out to Tammy, who came over and helped us put all this new furniture together!

Happy sewing, y'all!

Sunday, January 26, 2014

Tippi Hedren Suit Done! - Butterick 2178

I finished the Tippi Hedren inspired suit Saturday night, just in time for our Italy trip reunion on Sunday - we got together and shared photos and memories.  I usually don't like to sew with a deadline, but I really wanted to finish my suit so our fellow travelers could see that I actually did something with the fabric that I forced them to admire as we left Rome.  Here it is:


Here I am doing my best Tippi Hedren impersonation:


OK, I'm not quite the tall, willowly blond Tippi Hedren was. 


But I am enormously pleased with this suit.  As you can see, my winged collar isn't exactly like Ms. Hedren's, but I think I captured the essence.  As you recall, I began with this pattern:


The Butterick pattern was published in 1963, and had fake pocket flaps, rather than patch pockets, and the jacket had no cuffs.  The film was released in 1963, which means it was probably filmed in 1962.  I recently trolled the internet for 1962 patterns and saw that the suits in 1962 did have the patch pockets and collars more like Ms. Hedren's.  


As you recall, I used McCalls 5972 (the blue dress version) for my dress under the jacket.  It is just a basic, sleeveless sheath dress.  I lined the bodice with some leftover quilting weight cotton I had in my scraps stash.  I did not line the skirt portion.  It was interesting that Edith Head's original conception of the costume was a skirt and blouse under the jacket, just like my pattern.  Somewhere along the way, she must have decided to do a dress instead.


When I lift my arms, the peach colored lining peeks out.  That's OK with me:


Here's the back:

Whoops, I probably needed a little more pressing back there.  The Carpenter didn't get a photo of the bottom of my dress - it's straight, with a back vent.  Because the jacket is boxy, you need a straight skirt.  A full skirt with a boxy jacket is not the most chic look.

This suit was a joy to sew, and my favorite thing I have ever made.  I have high hopes that it will equally be a joy to wear - I certainly enjoyed wearing it this afternoon.  While I usually don't like having self-imposed deadlines, I'm glad I did for this suit because it really is a cooler weather suit.  There's nothing more deflating than working on a garment and then putting it away for six months before you can properly wear it.

All my posts on this project are here.

I anticipate wearing this jacket a lot, with jeans, if nothing else.  I want to make another dress or a skirt to coordinate with the jacket.  I'm thinking of this checked fabric:


(I believe it is some sort of rayon/silk blend.)  I have until February 12th to wear my new suit to the Hollywood Exhibit at the VMFA and compare it to the original inspiration!

Monday, January 20, 2014

It's A Sewing Room Miracle! And the Tippi Hedren Suit Progress - Butterick 2178

On Saturday, Vicki came over and helped me figure out how to organize my sewing room.  She saw it over Christmas - in the same state as the day I moved in a year and a half ago - and she became deeply depressed.  The room was full of boxes and bags of crap, I mean, my stuff, and she felt a great disturbance in The Force - the Sewing Force, that is.  Something Had To Be Done.

My problem was that I was paralyzed by choice.  In the past, I sewed where ever I had a flat surface - give me no room and no choice and I can make it happen, but give me a blank canvas and I'm stuck.  A dedicated sewing room seriously messed with my head.

So Vicki loaded up all her organizing skills and unleashed them at my house.  And at my husband.  The Carpenter now has homework, and he knows it.  He's going to hang a peg board for me, elevate an old table, and create a shelf on top of two bookcases we bought on Saturday.  As soon as he does all that, I'll take photos and post them so you can behold the awesomeness that is my new sewing room.

On Sunday, I entered the sewing room and sewed for 12 hours.  I finally stopped about 11:00 pm but only because The Carpenter said, "Time for bed."  Basically, I finished the jacket of the Tippi Hedren suit!  On Sunday morning it was exactly where you saw it last with only the outer jacket constructed, and by 11:00 pm that night it was complete with only the lining hem to hand sew.  I credit Vicki and the new sewing room configuration.

So here it is:


You can see that I went with a peach colored silk charmeuse for the lining.  I dithered long and hard on this lining.  I considered using the lining I bought for the Gertie coat and the yellow skirt (God knows I have enough of it), but I was concerned it might be a little too warm.  I considered washed silk shantung, but I felt it would be too thin.  The charmeuse is lovely, and I had it in my stash, so I went with it.  

I re-did the pockets and I am much happier with them now:


This wool is very forgiving, and left no stitching marks behind, so it was easy to take them off, and re-orient the seam allowance inside the pocket.  It is much flatter now.

I am very proud of the cuffs, especially since I had to figure them out myself - my pattern had no cuffs:


 Here's how I did it:  I measured the width of my sleeve pattern at the bottom edge (14 1/4 inches).  That measurement became the width of my cuff pattern piece.  I knew I wanted my cuffs to be an inch and half wide, so I doubled that number (to three inches) and then I added my seam allowances (2 half inch seam allowances equals 1 inch), for a total of 4 inches.  So my cuff pattern was 14 1/4 inches by 4 inches.  I cut my cuffs from the pattern on the bias.

 I sewed the short 4 inch sides right side together and then turned the cuff right side out.  I folded the cuff in half length-wise, and sewed the two raw edges of the cuff to the inside of the sleeve.  Then I pressed the cuff to the outside of the sleeve.  By doing it this way, the seam joining the cuff to the sleeve is outside the jacket, rather than inside, but it will be covered by the cuff:


 The inside of the sleeve cuff looks clean and neat:


To keep the cuff turned up, I hand tacked it at the back seam of the sleeve and cuff.  (Doing it this way also automatically hems your sleeve lining as well!)

One thing I love about the sleeves on this jacket is the dart at the elbow, something you don't see in a lot of modern patterns:


So the lining.  I drafted my own lining pattern.  I don't know if I did it "right".  I did what made sense to me.  Here we go:

For the sleeves, I just used the sleeve pattern pieces with no change.  For the back lining, I used the back pattern piece, but instead of cutting the pattern piece on the fold, I positioned the pattern piece a half inch from the fold of the fabric: 


The extra half inch became my one inch pleat that gave me extra ease in my lining:


The original pattern fold line became my stitching line.  For the first two inches (from the top neckline), I used my regular sewing stitch.  After the first two inches, I went to a basting stitch until I reach 2 inches from the bottom edge, whereupon I went back to my regular stitch length.  After inserting the lining, I took out the basting stitches, thus releasing my pleat.

The front lining pattern piece was the most challenging.  I took the collar/jacket facing pattern piece,


and laid it over the front jacket pattern piece.  Then I traced whatever the collar/jacket facing pattern piece did not cover, but added an half inch where the facing and lining piece will meet when I stitch them together with a quarter inch seam allowance.  This is what I ended up with:


I know, not very exciting.  But it worked.  I didn't sew the darts in my lining pieces (with the exception of the sleeve dart), but I brought the legs together as tucks.  By not sewing the complete darts, I gave my lining extra ease.  

My one "duh" moment came when I prepared to hem the jacket, fully intending to put in a machine hem, when I realized that I would be hemming right through my pockets.  Doh!  A hand stitched hem was a must.  I have to admit that the interlining, again, helped tremendously, and allowed the hem to be truly invisible since I only stitched to the interlining, rather than all the way to the outer wool layer.  

I still have to hand sew the lining hem to the jacket hem.  Getting the lining lined up correctly is a challenge.  Too loose and it sags; too tight and it makes your garment hang funny.  And what looks right on the hanger doesn't necessarily look right on you.  So it is a lot of pinning and trying on.  I think I have it about right now:


I am enormously pleased with how this jacket has turned out.  With the incredibly soft wool/cashmere outer jacket and silk lining, this is an incredibly luxurious garment.  I have never worked with such gorgeous fabric.

Today I started on the dress that will go under the jacket.  As I have mentioned, I'm using McCalls 5972, and I cut it out today.  It won't be underlined, but I lined the bodice with cotton.  Again, this wool is so fantastic, I sort of don't want the sewing to end.  I might be able to make a vest from the scraps I have left, and don't think I won't try.  : )

I did finish the bodice today; here it is hanging from the back of my chair:


You can see one of the purchases Vicki and I made in the background!