Saturday, January 8, 2011

I'm Not Sewing, only Altering!

I'm not good at altering patterns; after nine years of sewing, I've largely been able to avoid it. For several reasons. I'm a reasonably standard size: I'm 5'5" and most patterns are drafted for women who stand at 5'6". I have no rounded shoulders, narrow shoulders, or sloping shoulders. I do have a right shoulder than dips a little lower than the left, but not so bad anyone would notice. Also, I tend to just use patterns over and over again that work for me so I don't have to bother with altering anything. My "alterations" tend to varing my seam allowances as I sew - I'll use a 1/2 inch seam allowance if I need more room, and a 3/4 seam allowance if I need to tighten it up.

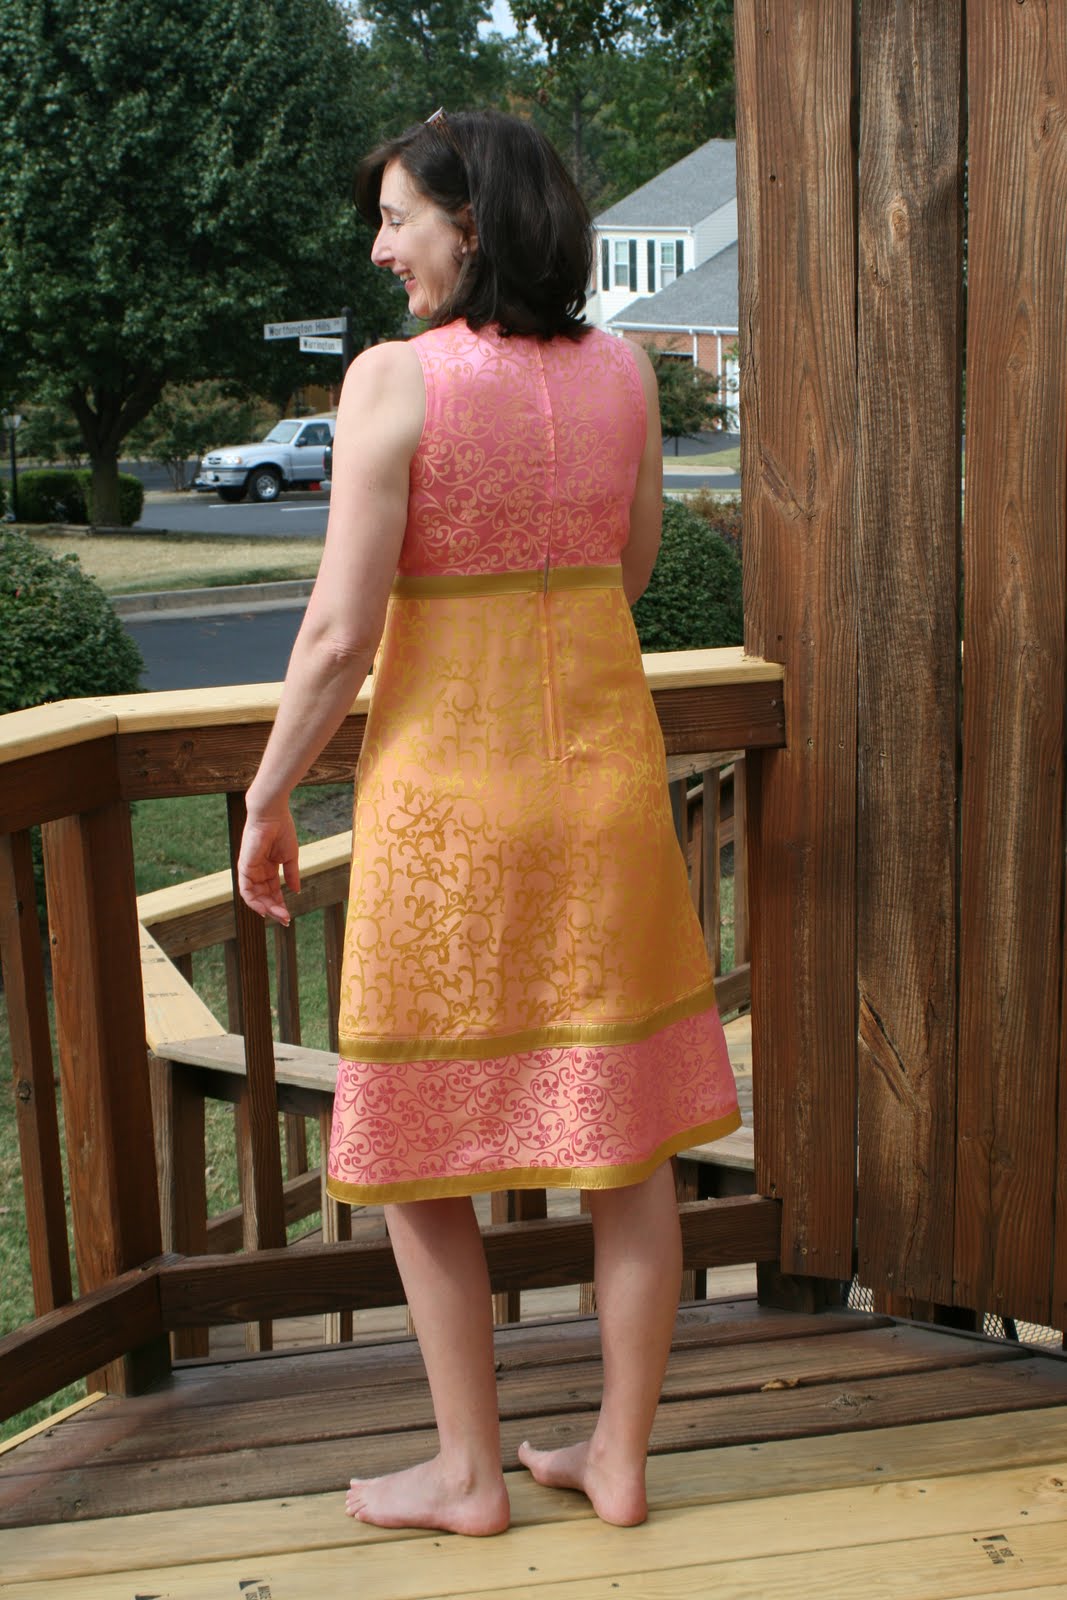
And of course, I hate doing muslins. My biggest deterrent to making alterations. But before Christmas, I made a muslin and the waist and hips were too tight. Here is a photo of the bodice with no alterations: My question was whether I should add to the sides of the bodice, or whether I should narrow the darts. Audrey correctly pointed out that I should check the front darts and see if they were properly spaced; if so, I should add to the sides. Summerset correctly pointed out that if I made the darts narrower, the bodice would more properly fit an "A" cup than a "B" cup. So this morning I tried it on with these comments in mind. The darts are perfectly placed. I couldn't ask for better. And I am a "B" cup, I don't need to make the darts narrower. So the answer (thanks Audrey and Summerset!) is that I needed to add to the side seams.

But how much? Summerset also wisely pointed out that these older patterns have the seam allowances printed on the patterns, so it is easy to figure out the finished garment measurements. I measured the waist on this pattern, and compared it to my TNT pattern (that's for you, Anne), and found I needed to add an inch to the waist/hip area.

I ended up tracing new bodice pattern pieces to add the quarter inch to the side seams because the original pattern is 49 years old, and ripped a little while I was handling it. As Summerset suggested, I added to the side seams just below the 12 notch. Here is muslin #2 with the pattern alterations:

It doesn't look a heck of a lot different than version # 1 except that I am not sucking in my gut as much!

Do y'all see any other fitting issues? Does the bust area look a little too big to you? (Or am I in danger of overthinking this?) Let me know if you do!

Of course, a muslin like this doesn't tell you everything you need to know for the finished garment. How will it fit with it being interlined? How will it fit with straps on the bodice and a big heavy skirt attached? How will it fit made of silk? That means more practice.

I think, though, I will be more likely to do muslins if I have muslin fabric lying around. This fabric was given to me by a friend whose sewing relative had died. It's a cheap cotten and I don't like it, but I took it because free fabric is now mulsin fabric to me!

Parting Shot: Vicki's tablerunner now has a new home! A very appreciated Christmas gift - thank you Vicki!

Tuesday, January 4, 2011

Happy New Year!

I received the sweetest email from Gwen yesterday, basically asking me what the heck had happened to me. Yes, it has been a month since I last posted what with Christmas and football keeping me from sewing a single stitch. (By the way, War Eagle!) I took the last two weeks of the year off and headed down home to Cotton Creek, AL. I had a lovely time - it was a wonderful Christmas, and the Carpenter came too, and experienced all that Cotton Creek had to offer. Let's see . . . we had snow flurries on Christmas day and we ate a lot; that's it, you are pretty much up to speed.

For Christmas, he gave me the Alabama Stitch Book, which I have been eyeing for ages. He apparently bought it after seeing it at the
Virginia Museum of Fine Arts when we went to see the Quilt Exhibit. The author, Natalie Chanin, is from just outside of Florence, Alabama, from a little corner called Lovelace Crossroads. The first page of her book shows an arial view of Lovelace Crossroads, and one of the houses was her grandparents', and is now hers. I find this love of home to be typical of folks from Alabama, and no matter how far they move away, it seems they usually race back as soon as they can.

The book is an interesting one because all of her stitching is done by hand, even her seams. As you know, I avoid handstitching like taxes. I usually find that one quarter inch Steam-A-Seam can fulfill most of my handbasting needs. I thought I would be bored, but I read every bit of the book. I don't know if it will inspire me to the extent that I would actually hand stitch reverse applique, but you never know. I do think her skirt is adorable (the one piece pattern is included in the back of the book) and it is made from old t-shirts. I do like the idea of recycling old t-shirts into a new purpose. I've never actually sewed any knits before, and this simple skirt may be the best way to start. Cheap, too. I don't have to embellish by hand like Ms. Chanin unless I want to.

Speaking of saving money, I went out and bought
a dress from Anthropolgie to wear to my company Christmas party in December. I brought it home, tried it on again, but then I scrambled around in my closet, and found this dress which I made for the cruise Mother and I took in 2009. I decided to wear the dress I made instead because it fit better, looked more like a party dress, and saved me $ 168 since I took the Peggy Sue dress back to Anthropolgie with no regrets. I wore it with the full crinoline and no sash and got tons of compliments on it all night. This photo doesn't show much of dress, but it does show the Carpenter in a suit!

We had a great time at that party, but my re-entry into the working world this week has been brutal. After two weeks of cooking, eating, reading, and in general doing whatever I wanted to do, the enforced routine of getting up and out the door for work seems like the Bataan Death March. Not to mention the reduction in calories after a month of eating like I'm in Scotland on vacation (three full meals, plus medicial afternoon tea with restorative shortbread cookies). Trying to come down from that and exist on merely 1800 to 2000 calories a day appears somewhat ridiculous. When can I retire?

And speaking of retirement, I'm having lunch with VickiW tomorrow to collect my Christmas present, the
fab tablerunner. As soon as I can I'll get a photo of it on the table the Carpenter made. I know it will look fantastic!

Sunday, December 5, 2010

I Want to Sew for Me!

After finishing The Carpenter's shirt, which feels like it took ages to complete, I was feeling the need to make something for ME. I'm sure the Selfish Seamstress would approve. Not only did I want to make something for me, me, me, I wanted it to be quick. So two Sundays ago, I made a gathered skirt: I realize this is a less-than-chic look, but at the time I didn't care. I wanted something quick and I wanted it simple. Nothing simpler than a gathered skirt - I didn't even use a pattern. I cut two rectangles, 40 inches wide by 29 inches long, for the body of the skirt, and I cut another rectangle, about 5 1/4 inches wide, for the waistband. I made the waist 29 1/2 inches long and I think that has made the skirt a little too big in the waist. I need to make it a little tighter in the future. I put in a four inch hem to give the hem weight. I used a red zipper because that is what I had on hand, so I used a red button, too:
This fabric is from my stash, and I bought it at The Fabric Place in Massachuestts about six years ago. It was on the wool table, but I am pretty sure it is 100% polyester - I could tell by the odor when I ironed it with steam. No burn test necessary - there is no more distinctive smell than polyester when it is ironed!
Fortunately, it wasn't bad to work with, and it doesn't wrinkle. It got the job done for a quick project, just to satisfy my sewing soul. If I make this skirt again, I will shorten it by 2 inches for a less dowdy look, and to make it (hopefully) more vaguely rockin'.
This afternoon I wandered into the sewing studio (a/k/a the entire downstairs of my house) and I wanted to do something, but not take on a big project. So I made a muslin (gasp!) of a strapless bodice from a vintage pattern just to see how it would fit me (size 14, bust 34). Here is the front:
Here is the back:

And here are the front and back pattern pieces:

The bust fits fine, but the waist and hip area is a tad tight. I think I need to add an extra 1/2 inch in the waist/hip area to make it fit better. Here's my question: should alter the pattern at the side seams, or should I narrow the darts to add the extra 1/2 inch? Does it matter? I'm leaning towards making the darts narrower, but I don't know the "correct" way to make this alteration. Any feedback would be greatly appreciated!

Parting Shot: For Thanksgiving, the Carpenter and I went to Williamsburg, VA. My favorite photo I took all day at historic Williamsburg - he was squirrel hunting:

Thursday, November 18, 2010

It's Not So Bad

I finally, finally got the shirt done for the BF using McCalls 6044. And now that it is complete, I can say that I spent way more time agonizing over it than I did sewing it. I spent Sunday getting the collar sewn on using David Coffin's instructions in his book, Shirtmaking. At one point, I thought I had done it wrong, unsewed it, then sewed it back, and only then I discovered I did it right the first time! I really think that part of my confusion stemmed from Mr. Coffin's instructions which are so detailed, I sort of get lost about what I'm doing next. He's extremely thorough, but sometimes I just need basic, overview instructions about what we are trying to accomplish here. I will say that it resulted in the best collar I have ever sewn:
Certainly, the collar stand is way better than the ones I sewed using conventional instructions in my Amy Butler tunics:

On Sunday, I also got the buttonholes done. I took Monday off of work and finished putting the buttons on and I hemmed it. The Carpenter came over that night for dinner and he was anxious to try it on. It wasn't near as small as I feared it would be:

Hallelujah!!!! It fits perfectly as long as he doesn't move around a lot. : ) For the next shirt that I make, though, I'll probably make a bigger size since he likes his shirts loose fitting, and I'll probably go with a more traditional pattern that has a yoke. I know he likes it though, because he left wearing it!
So this was definitely a learning experience, one that I probably need to repeat soon so I don't forget all the lessons learned. But the holidays are coming up, and I've finally learned not to line up sewing projects for Christmas - I don't need that stress, since I apparently can make sewing stressful enough without a deadline!
I will say that this shirt, along with my last few dress projects, in rayon and silk, have taught me the advantages of using a rotary cutter in the cutting out process, rather than just using scissors. You can cut way more accurately with rotary cutter on the rayon and silk since the scissors distort your fabric as you cut. And the rotary cutter came in very handy for the shirt since the pattern pieces were large and mostly straight edged. Anyway, I'm getting better at using the rotary cutter on curves as well.
Parting Shot: The Carpenter's dog. I expected him to have a "manly" dog like a chocolate lab, but he loves his foo-foo dog, Lucy, who is a Pekingese:

Monday, November 1, 2010

I've Mastered Cuffs!

Well, not mastered, but I've achieved cuffs based on David Coffin's instructions in his book and video entitled, "Shirtmaking":
The first cuff took me an hour and half to make, consulting with both the book and the video; the second cuff only took 30 minutes. Hopefully, I'll remember how to do it on the next shirt. I went head and sewed on the front plackets as well and I'm pretty pleased with my matching:

REALLY pleased with the pocket which is below:

Now for the collar; there will be more reading and video watching, and while I think this will be too small for the Carpenter, this is building up my skills. If the collar goes well, I might as well put the buttons on it and hem it up. Maybe I can at least get a photo of him wearing it! It's the thought that counts, right?
On on a non-sewing note, I'm extremely thrilled to be invited to do a guest post on Seraphic's blog for single Catholic women which is published here. Seraphic is a big proponent on waiting for the right man and I couldn't agree more!
Parting Shots: The Carpenter and his brother, the Forester, chopped wood yesterday near the Nottaway River and I got to go. Here's the Nottaway - not a big river, mind you:
Here's the beginning of the cutting. I think the men just like using chain saws:
Brothers, always:

All done:

Wednesday, October 20, 2010

I'm Sorta Bummed

I think the shirt I am making for The Carpenter is going to be too small. Sigh. It has been my dream to make a traditional man's shirt and I picked two patterns to make this a reality, an easy one and a harder one. The easier one was this one, McCalls 6044: What made it the easier pattern was that it had no yokes and no sleeve placket. I figured easier was better. I used a cheap brown homespun plaid I got at Joanne's for a very good price and painstakingly cut it out, making sure to match all the fronts, the front plackets, the pocket, and even the sleeves. The sleeves, by the way, are made up of two pieces - which is definitely different. The bottom part of seam where the two sleeve pieces join is where the sleeve opening is located - normally this is where the sleeve placket would go. But since there is a seam there instead, the instructions have you just fold under the seam allowances to finish them.

I'm not completely unfamilar with shirts. I've made at least a dozen men's shirts from this Kwik Sew pattern:

This Kwik Sew pattern does have yokes (which really aren't that hard to deal with), but has no collar stand, front plackets, or cuffs. I made my first collar with a collar stand when I made the Amy Butler tunic. Really, the only thing I haven't done on a shirt is flat-felled seams, cuffs, and sleeve plackets. I pulled out David Coffin's wonderful book "Shirtmaking" which I have had for years and read up. I also rediscovered that I had his video which demonstrates his techniques from the book. (I borrowed this video so long ago from VickiW that I owe her a fortune in late fees for its return!)
I decided after reading Mr. Coffin's instructions on flat-felled seams, I was going to have to do them without the special flat-felling foot. Using the foot requires a different seam allowance for your edges. For example, the piece that folds over requires a 7/8 seam allowance and the other side requires a 1/4 seam allowance. I don't have the patience to redraw all the pattern pieces to accomodate these seam allowance changes.
So I did all my seams with the standard 5/8 seam allowance, then I trimmed one edge to about 1/4 inch, then I folded the other edge over the smaller by hand and pressed to one side. To hold the seam allowances in place while I top stitched them from the right side, I used 1/4 inch wide Steam-A-Seam which was much better than pins. I got to practice this on the shoulder seams, the sleeves seams, and the side seams. Pretty cool, although kind of time consuming. The top stitched seams looked awesome, especially since I took Mr. Coffin's advice and shortened my stitch length considerably - probably to 22 stitches to the inch. Also, on the shoulder seams and sleeve cap seams, I edge stitched them as well. This definitely made it look more ready-to-wear and provided a very strong seam.
At this point I had The Carpenter try it on and I think it is going to be too small. His chest is 39 1/2 inches, and the size chart indicates that he would be a medium, but I still think it is going to be too small. I know what I should do: finish this shirt using David Coffin's techniques on the shirt cuffs and collar, and chalk it up to a learning experience even if it doesn't fit. Learning on this shirt will make the next one (the REAL one) go so much easier. That is what my brain is telling me to do. My motivation, however, has plummeted. I hate working on garments that won't actually get worn, otherwise known as muslins. No matter how much I learn from them.
Any advice, y'all????
Parting Shot: We went to New England a few weekends ago and we had GLORIOUS autumn weather. Here is a shot somewhere off the coast of Massachusetts, between Gloucester and Rockport:

Sunday, September 26, 2010

McCalls 6123

I got sidelined on the sewing train lately; I got the foolish notion to strip the wall paper from my master bath and renovate the bathroom. The wall paper stripping nearly killed me - it was as awful as everyone had warned me about - and the exhaustion I experienced from a week of nightly wall paper stripping triggered an MS attack of biblical proportions. (I asked VickiW to shoot me, and she volunteered her husband as a excellent shot.) But I survived, and today I finally finished the McCalls 6123 dress with my Singapore Silk: How b*sty does this dress make me look? Big enough to where I am self-conscious about it!!! I really am only a B cup, but the gathers in this bodice make me look like Dolly Parton's sister. : ) The dress actually hangs straighter than this photo leads you to believe; the wind was blowing when this was taken. Here's the back:
Here's an inside shot which shows the colors a bit more true:
This dress was fun to make. I used the same fabric for the bodice as I did for the lower part of the dress, but I reversed the fabric near the hem to make it subtely different. I will say that this dress pattern is made with LOTS of ease. The smart thing to do with this pattern is to make a muslin, but do as I say and not as I do. I didn't make one. Fortunately, the finished garment measurements are printed on the envelope and pattern, and I went from that. This is how large this dress runs: I usually make a size 12; I made a size 6. Now admittedly, the 6 is a tad tight, which is what is making me look like I had breast augmentation. Next time, I'll make this in a size 8.
A couple of things about this pattern. The original instructions have you cut out the gold bands, press up one edge 3/8 of an inch and sew them to the dress pieces. I didn't have the patience for all that, so I just figured out what measurement the bands would finish at, doubled that, and added the seam allowance. Then I folded the band in half length-wise and pressed it. I figured doing it this way wouldn't add too much bulk, given that I was working with silk, and I was right. Unfortunately, my math was wrong. I should have cut out the gold bands at 2 1/4 inch for them to finish at 1/2 inch. Instead, I cut them out at 3 1/4 inch, so they finished at 1 inch. I think, though, I am happier with the gold bands being 1 inch than if they had been 1/2 inch.
Another thing: I believe the patterns for the middle front and back gold bands were wrong - I believe they should have been reversed. Pattern piece 25 should have been 26 and vice-versa. I didn't test this out, though, and I just made one long band and pinned it around the lower dress section, tucking the end into the folded edge of the opposite end. I did the same for the gold hem band.
Kay Whitt designed this pattern for McCalls and I discovered that Ms. Whitt has no interest in clothing that is "de-constructed". For example, every seam was edge stitched and then top stitched, as well. Here's a photo of the top gold band just under the bust:
And for every opening, such as the neckline and armhole, not only did you stitch the seam, but then the opening was understitched, edge stitched, and top stitched. At first I thought this was a bit of over-construction, but as I progressed, I found that all this stitching really helped hammer this silk into submission. I don't know if I would have done all this stitching had I been working with cotton, but with the silk, it was worth it.
While working on this pattern, I discovered that Kay Whitt has a book out with other patterns for skirts, dresses, and jackets, so I bought it:
I love the skirt on the cover and that is probably the first pattern from the book I'll make. (The book comes with full size tissue patterns of all the designs featured.) The patterns in the book are like the McCalls 6123 - the garments are made using different, but coordinating fabrics. This is perfect for the silks I was using, or the designer collections you find in your LQS. Every quilt store should sell this book - the clothes are way cute and are perfect for the coodinating fabrics on display. It got me thinking about those feedsack fabrics I still have - rather than trying to get one garment from one feedsack, I could take several feedsacks that coordinate and make a skirt or dress. Hmmm, more possibilities.

Also while I was working on this dress, I discovered a moth had eaten a hole in the sleeve of one of my favorite sweaters. I cut off the bottoms of both sleeves, making them three quarters length, and added half inch pink silk bands to the end of the sleeves, using Ms. Whitt's edge stitch and top stitch technique:

The colors match so well that I am thinking of cutting off the turtleneck of this sweater and making it a cardigan, trimming it in more of the silk colors I used in the dress. I could then wear the sweater with the dress, covering my voluminous bosom, and thus enabling me to wear this in public throughout the autumn. : ) We'll see.
Next up: a shirt for the Carpenter. I bought two patterns at McCalls 99 cent sale: an easy one and a harder one. I'll start with the easy one in a cheap homespun plaid I got for a song at Joanns and see where I go from there.
Parting Shot: About a month ago the Carpenter and I went to Appamattox Plantation where General Grant had his headquarters during the seige of Petersburg. The house was originally built in the 1700s and was owned by the Epps family for over 300 years. It was a beautiful day: