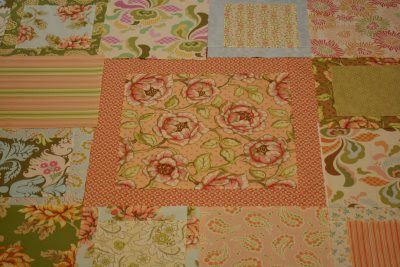
It is clearly a lighter color than I had wanted, and it is more of a springy fabric, but it had a nice hand to it. Here is a close up:
 Really lovely stuff. Normally I would have thought about it for three weeks while I checked the internet for all other available options, but I didn't have the luxury of time. I put it on the cutting table and only slightly blanched at the price of $ 35 a yard.
 I had already decided that I would make an easy dress with lots of drama, something I have made before. And that would be a tried and true bodice, with a full circle skirt (1950's style full crinoline underneath, already owned) and a sash for waist emphasis (and to hide any sewing imperfections). I am going to use the circle skirt part of this pattern which I have used before:
 And the sweetheart option bodice from this out of print pattern which also happens to be the very first dress I ever made:
 It's hard to see the sweetheart bodice on this pattern - the option is one of the small drawings. But these photos can be clicked on to enlarge.
 And the sweetheart option bodice from this out of print pattern which also happens to be the very first dress I ever made:
 It's hard to see the sweetheart bodice on this pattern - the option is one of the small drawings. But these photos can be clicked on to enlarge.
I say this is foolhardy because I will have to work on the dress when I have the energy and I'm not working. Those are small increments of time. So I cut the bodice out today and actually got it finished!
 This pattern has facings, but I usually like linings better; they are sometimes easier, and always cleaner-looking. I also usually line with the garment fabric, but this silk jacquard ravels like the very devil and I didn't need that aggravation. I lined it with a light pink batiste I got at my LQS. I also figured it would feel better and be more comfortable.
 I made the bodice by sewing the shoulder seams together, connecting the front and back pieces, then I laid the garment bodice out and put the lining on top of it, sewing the garment fabric and the lining fabric at the neckline. Then I understitched the neckline. Next, I sewed the garment fabric and lining together at the armholes, understitched as far as possible, and then turned the whole thing inside out. Finally, I sewed the side seams, sewing the garment fabric and the lining fabric together in one seam on each side. Sorry I didn't take photos, but I was just so thrilled I was making progress at all. And I was working as quickly as possible because this silk unravels just by looking at it:
 I know what you are going to say, "But Kim, why didn't you use that great serger you just got and finish those edges right after you cut everything out?" And you are right, but I've yet to actually figure out how to go from 4 thread to 3 threads and set the stitch length and width to do all that. Plus, I suspect I will have to remove one of the needles (though the manual doesn't explictly say that), and I haven't done that yet. I will learn all this, but sewing on a deadline isn't the time to be fiddling with a new piece of machinery. It is just an opportunity for frustration and dispair. Did I mention this fabric is $ 35 a YARD???
No Parting Shot tonight, but I was able to participate in the MS Walk this morning. They were expecting 1500 people, but I think they got close to 2000. We all walked three miles under perfect weather!